Add Assets
Add the assets you want External Attack Surface Management (EASM) to monitor. You can type or paste them, or upload a file and let the platform pick out the domains and IP addresses in it.
Before You Start
- Package: EASM.
- Role: Admin or Member.
- If your inventory is empty, every EASM page opens the method chooser until you add your first asset.
Where to Find It
Sidebar: EXTERNAL ATTACK SURFACE MANAGEMENT › ASSETS › INVENTORY · Tab: ASSETS LIST · https://platform.deepinfo.com/app/easm/assets/add
On the ASSETS LIST tab, select ADD NEW ASSET. The + button in the header goes straight to a method: ADD ASSETS / MANUALLY (https://platform.deepinfo.com/app/easm/assets/add-manual) or ADD ASSETS / UPLOAD FILE (https://platform.deepinfo.com/app/easm/assets/add-upload).
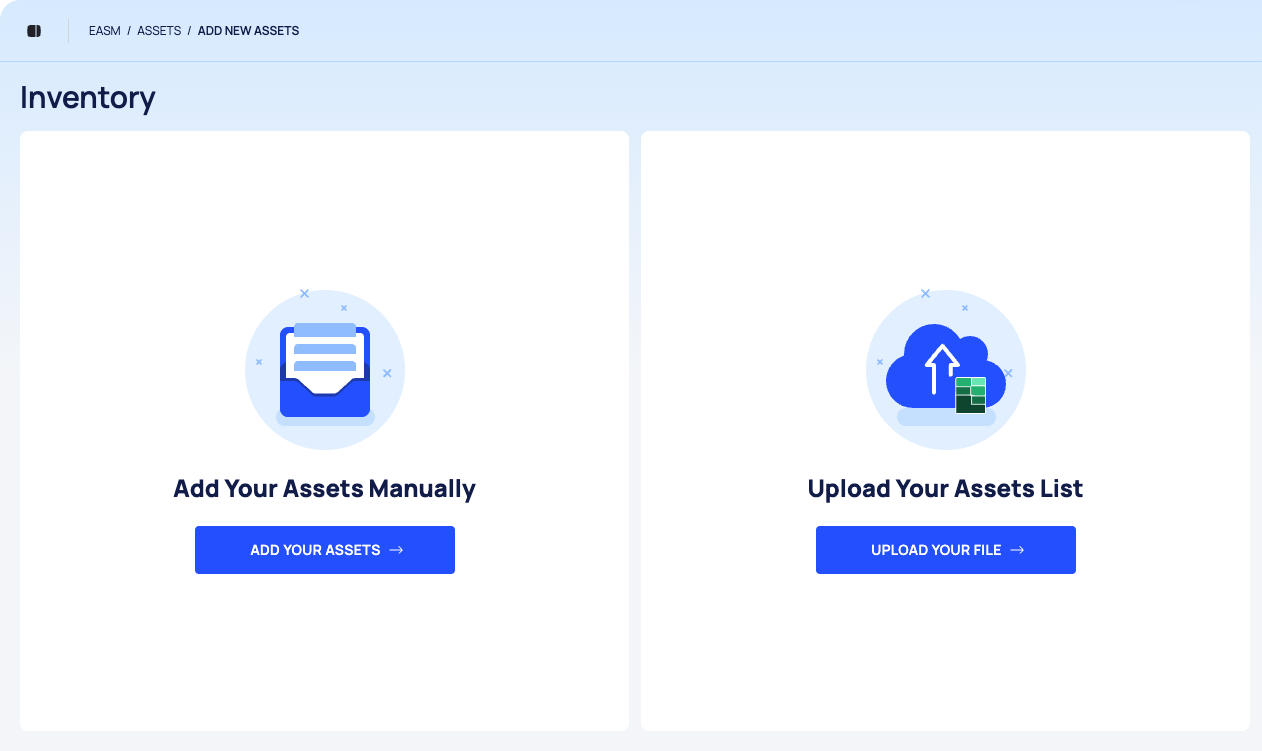
The method chooser keeps the page title Inventory; the breadcrumb reads EASM / ASSETS / ADD NEW ASSETS. It has two cards:
- Add Your Assets Manually, with the button ADD YOUR ASSETS.
- Upload Your Assets List, with the button UPLOAD YOUR FILE.
Type or Paste Assets
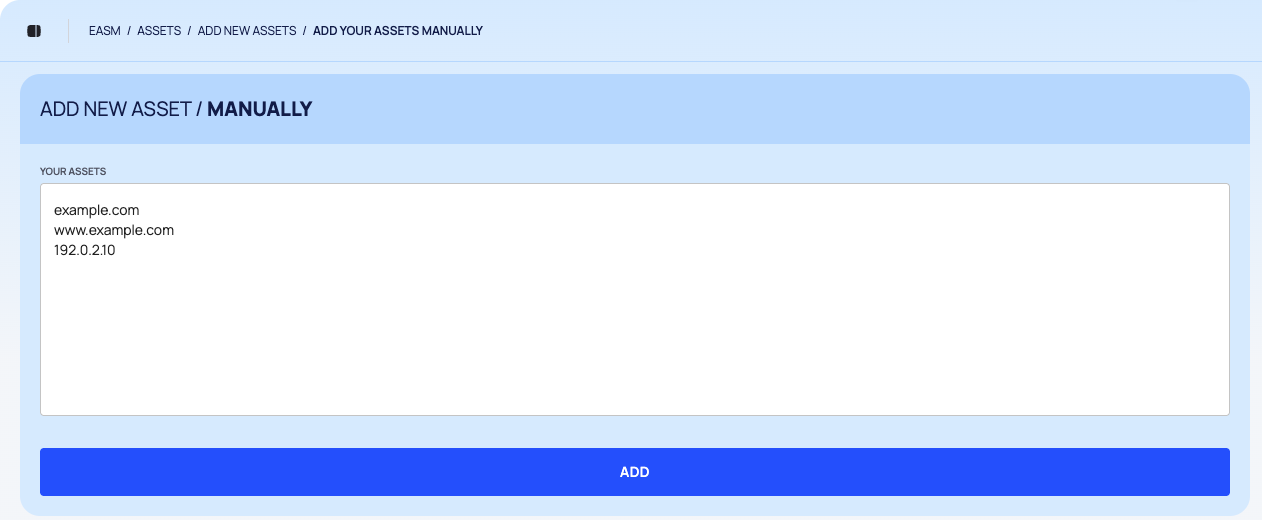
Open ADD ASSETS / MANUALLY from the + button, or select ADD YOUR ASSETS on the method chooser. The form is headed ADD NEW ASSET / MANUALLY.
In YOUR ASSETS, enter your domains, subdomains, IP addresses or websites. Put each one on its own line, or separate them with commas:
Textacme.example www.acme.example 192.0.2.10Extra spaces and duplicates are removed for you.
Select ADD.
The Congratulations popup opens (see Read the result). If the request itself fails, the error appears on the form instead.
Upload a File
- Open ADD ASSETS / UPLOAD FILE from the + button, or select UPLOAD YOUR FILE on the method chooser. The form is headed ADD NEW ASSET / UPLOAD.
- Drop one file on the UPLOAD YOUR FILE area, or browse for it. The file picker accepts
.txt,.csv,.json,.docxand.xlsxfiles, and the upload area asks for files of 1 MB at most. - Select UPLOAD. The platform then lists the assets it found, with the line N Assets Identified and the file name.
- Review the table. Each row shows the Asset Name and its Asset Type (Domain or IP Address). To leave an asset out, select the trash icon on its row.
- Select ADD ALL ASSETS. To start over with another file, select CANCEL.
- The Congratulations popup opens (see Read the result).
Read the Result
The Congratulations popup tells you what happened to every entry. It can show these groups:
| Group | Meaning |
|---|---|
| Added | New assets now in your inventory, counted per type |
| Already existed | Assets that were already in your inventory. They were not added again |
| Couldn't be added | Entries that could not be added because of errors, such as invalid values |
Select GO TO ASSETS PAGE to open Inventory. The popup says "portfolio": it means your inventory.
Good to Know
- Entries already in your inventory are skipped, so you can safely paste a list that overlaps with it.
- In an uploaded file, the review table labels each asset as a Domain or an IP Address.
Do This With the API
- Add assets: Asset Create