Organization and Members Management
Organization and members management have been gathered under five main headings:
- Upload Organization Logo
- Update Organization Name
- Enforce Two Factor Authentication for All Organization Members
- View/Update Organization Members:
- View/Update Invited Members and Invite New Members
Each topic is detailed in detail below.
(Only users with the admin roles can view this page.)
Organization Settings Page
1- Login to Deepinfo Platform. (If you do not have any account, you can create a two weeks free account from register page.)
2- Click the "Settings" in the menu list, then click "Organization Settings".
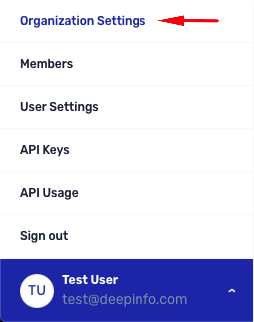
How to Change Organization Logo:
After clicking "Organization Settings", "Settings" page will be shown. Organization logo can be uploaded from "Settings" tab. The logo format should be one of JPG, GIF, PNG, and the maximum logo size should be 800kb.
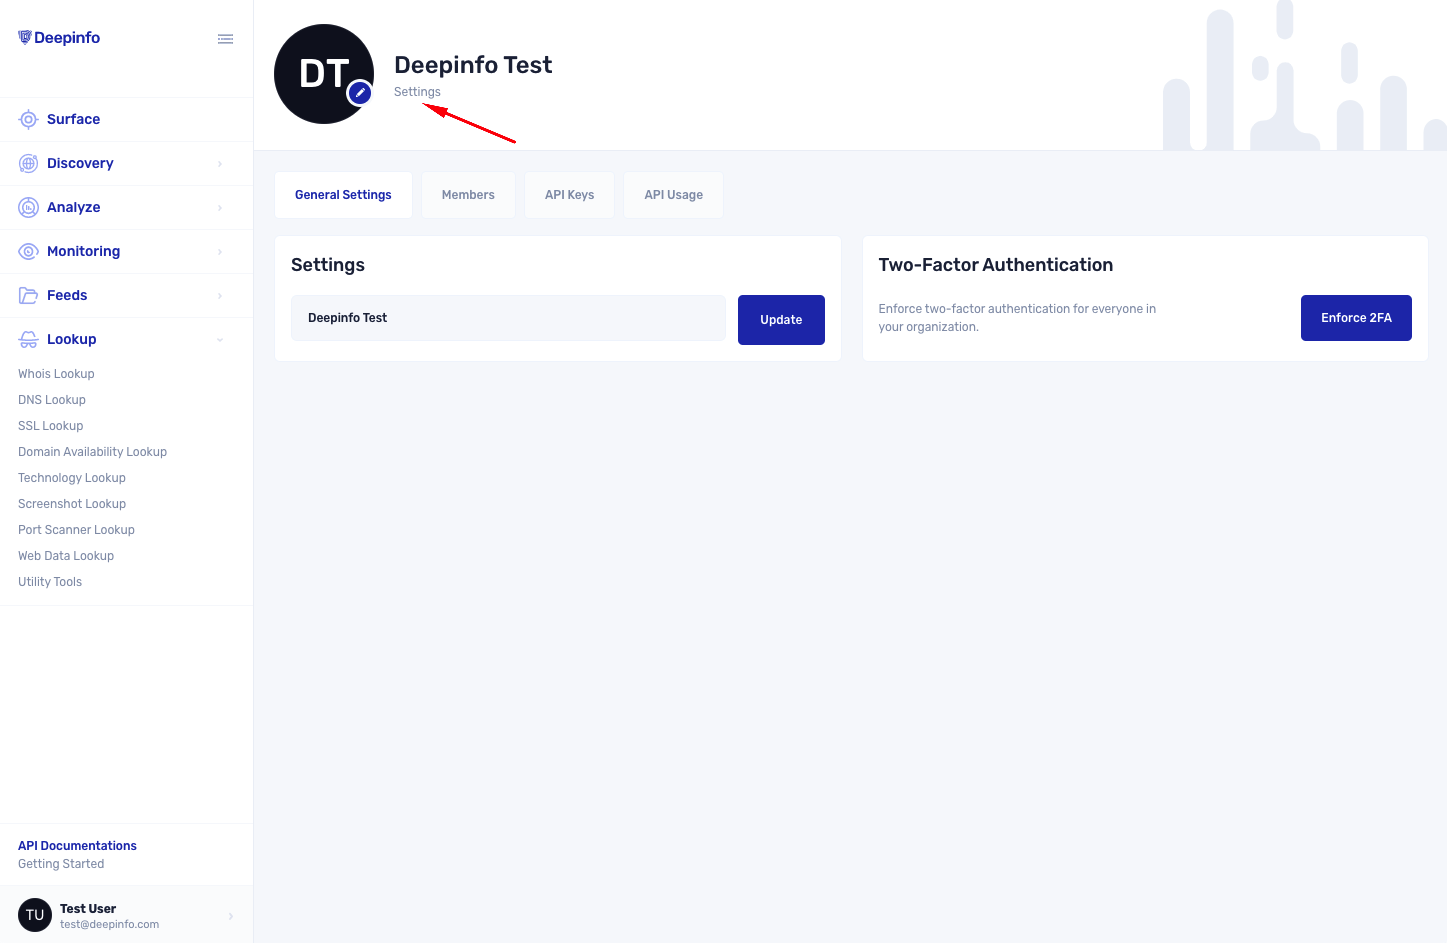
Organization Settings Page
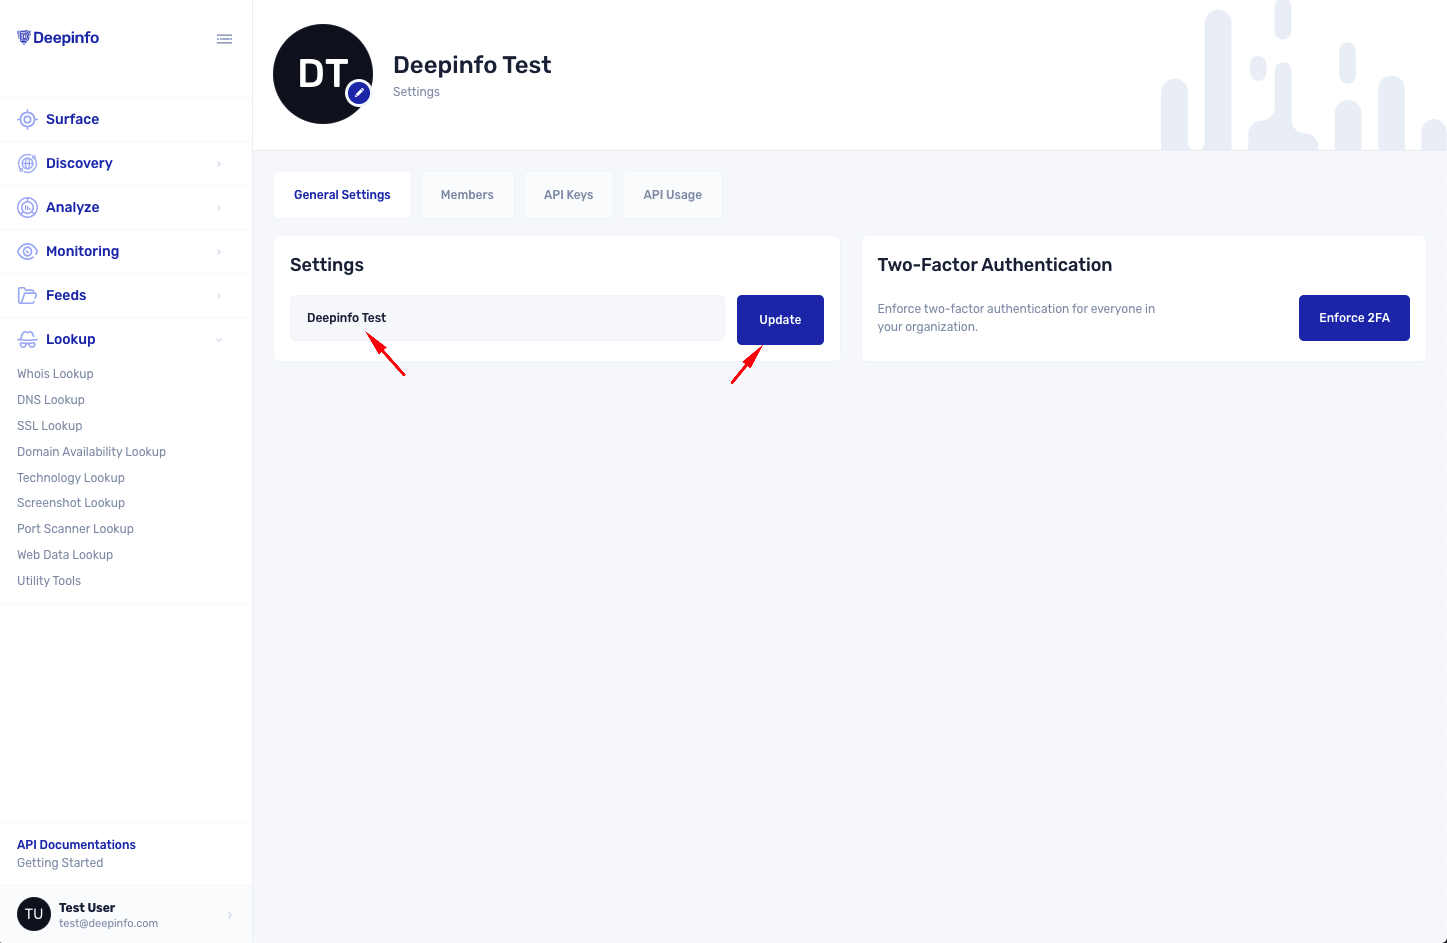
How to Update Organization Name:
After clicking "Organization Settings", "Settings" page will be shown. Organization name can be updated from "Settings" tab.
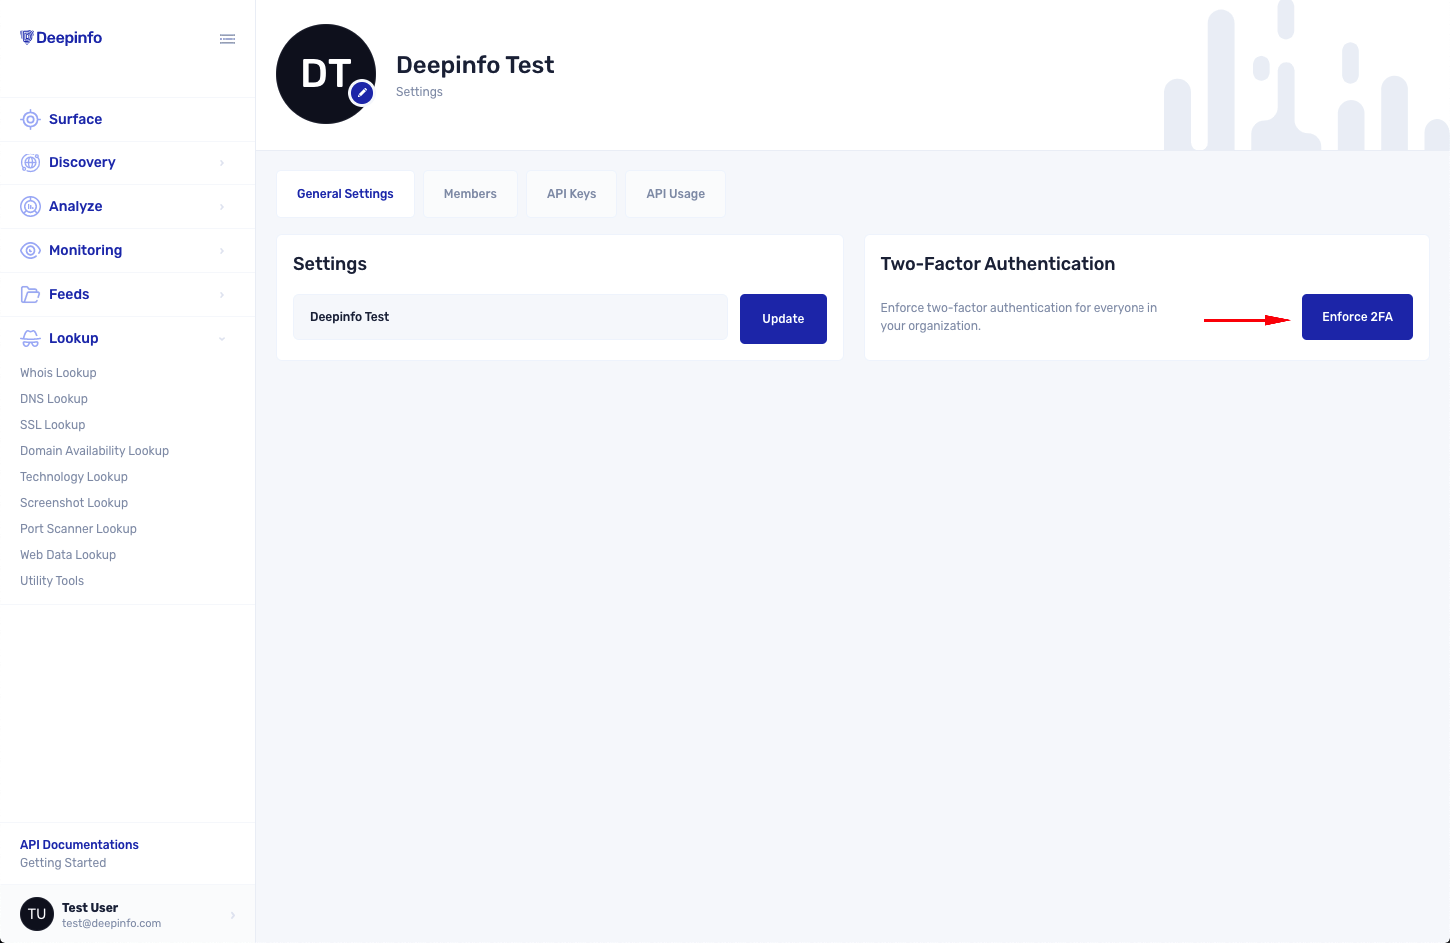
How to Enable/Disable Two Factor Authentication:
After clicking "Organization Settings", "Settings" page will be shown. You can enforce two-factor authentication for all organization members.
How to View/Update Organization Member(s):
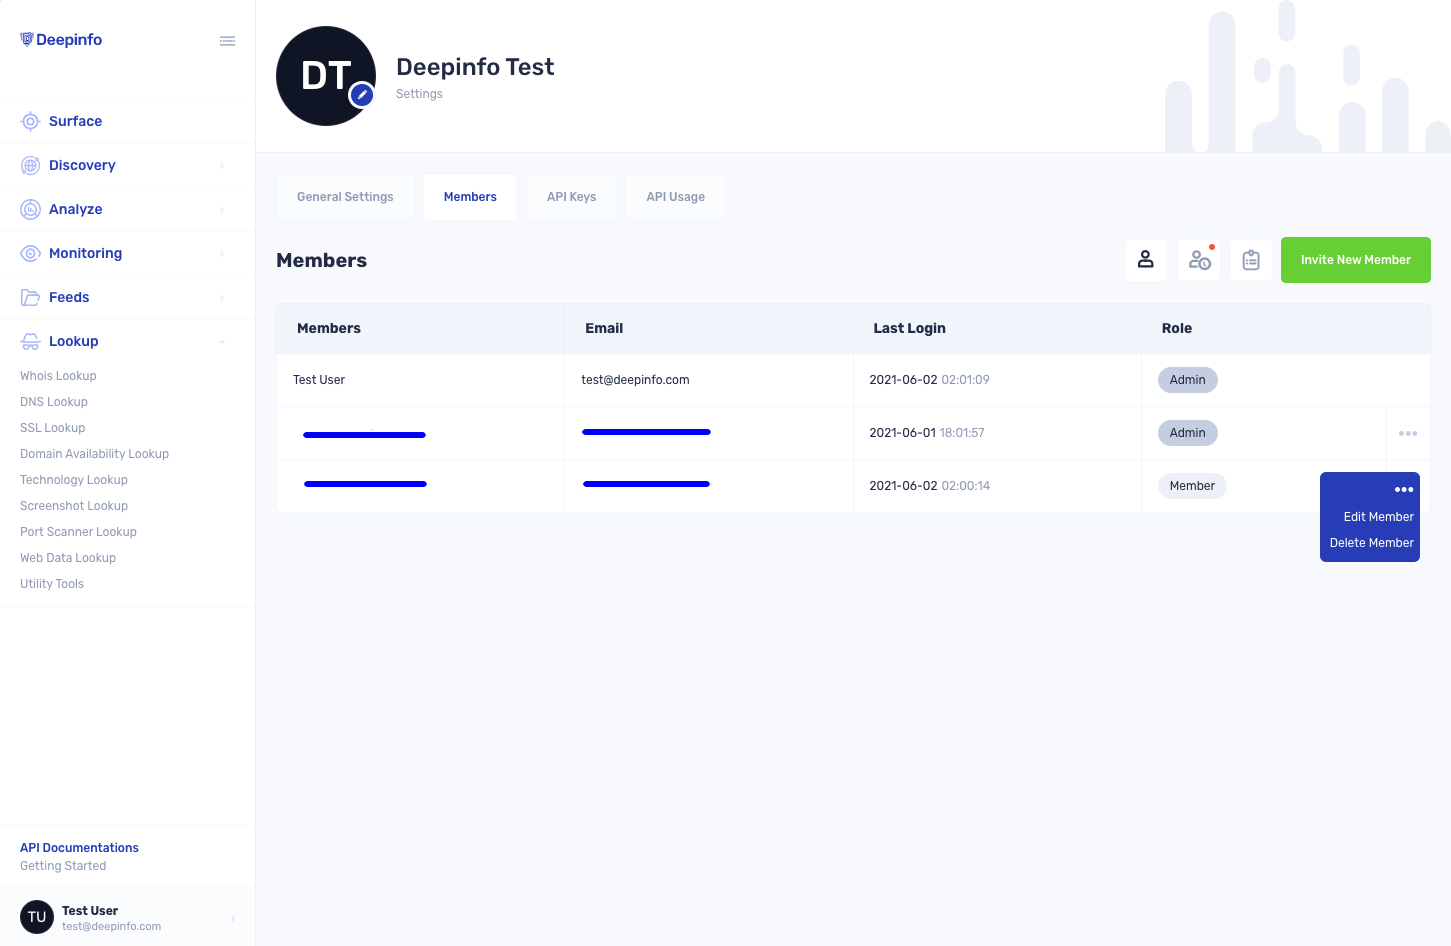
After clicking "Organization Settings", you should click the "Members" tab. All your members will be listed. You can update the member type or delete the member by clicking the three dots on the right. Additionally, you can access the last login of users to the platform.
How to View Invited Member(s) Status and Invite New Members:
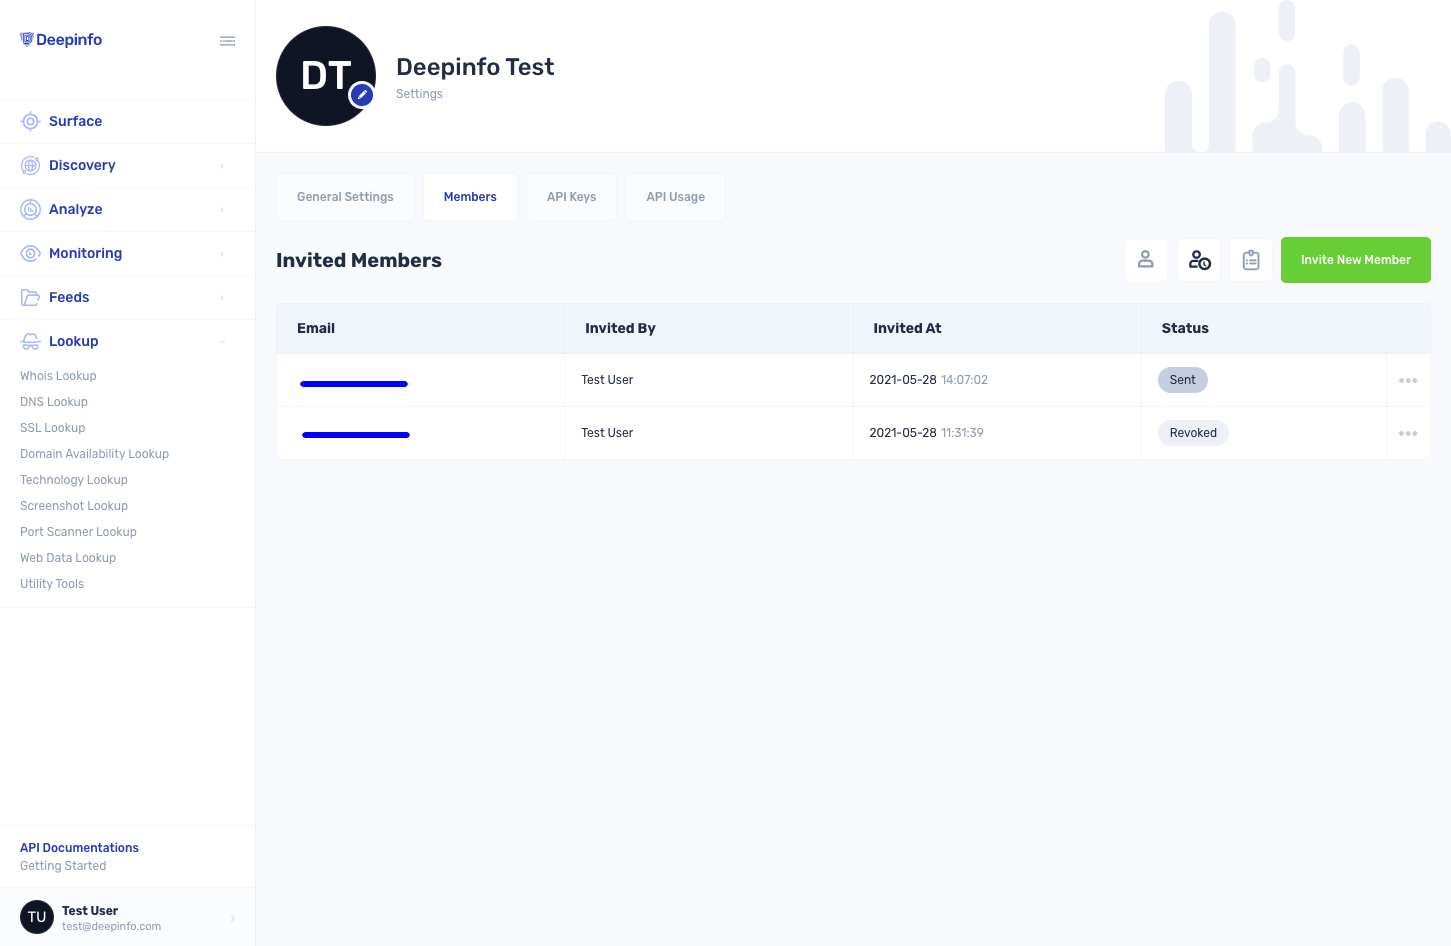
After clicking "Organization Settings", you should click the "Invited Members" tab. All invited members will be listed. You can find out who was invited by whom and when. You can invite new people from the upper right corner. You can send an invitation again to the invitee or revoke the invitation by clicking the three dots on the right.
Updated 9 months ago
